Hello everyone
Happy Fri-Yay!
Today I have a tutorial to show you how to use the fantastic new kinetic dies by
Jennifer Dove from
Santa just looks amazing jumping across the room and the magic is that you can't see any of the kinetic mechanism!

The bedroom background digi from
and paper from
plus the wonderful new
and

I used PowerPoint to assemble the digi elements, printed them and coloured Santa as above.

...then I die cut 300gsm black card with the basics set...
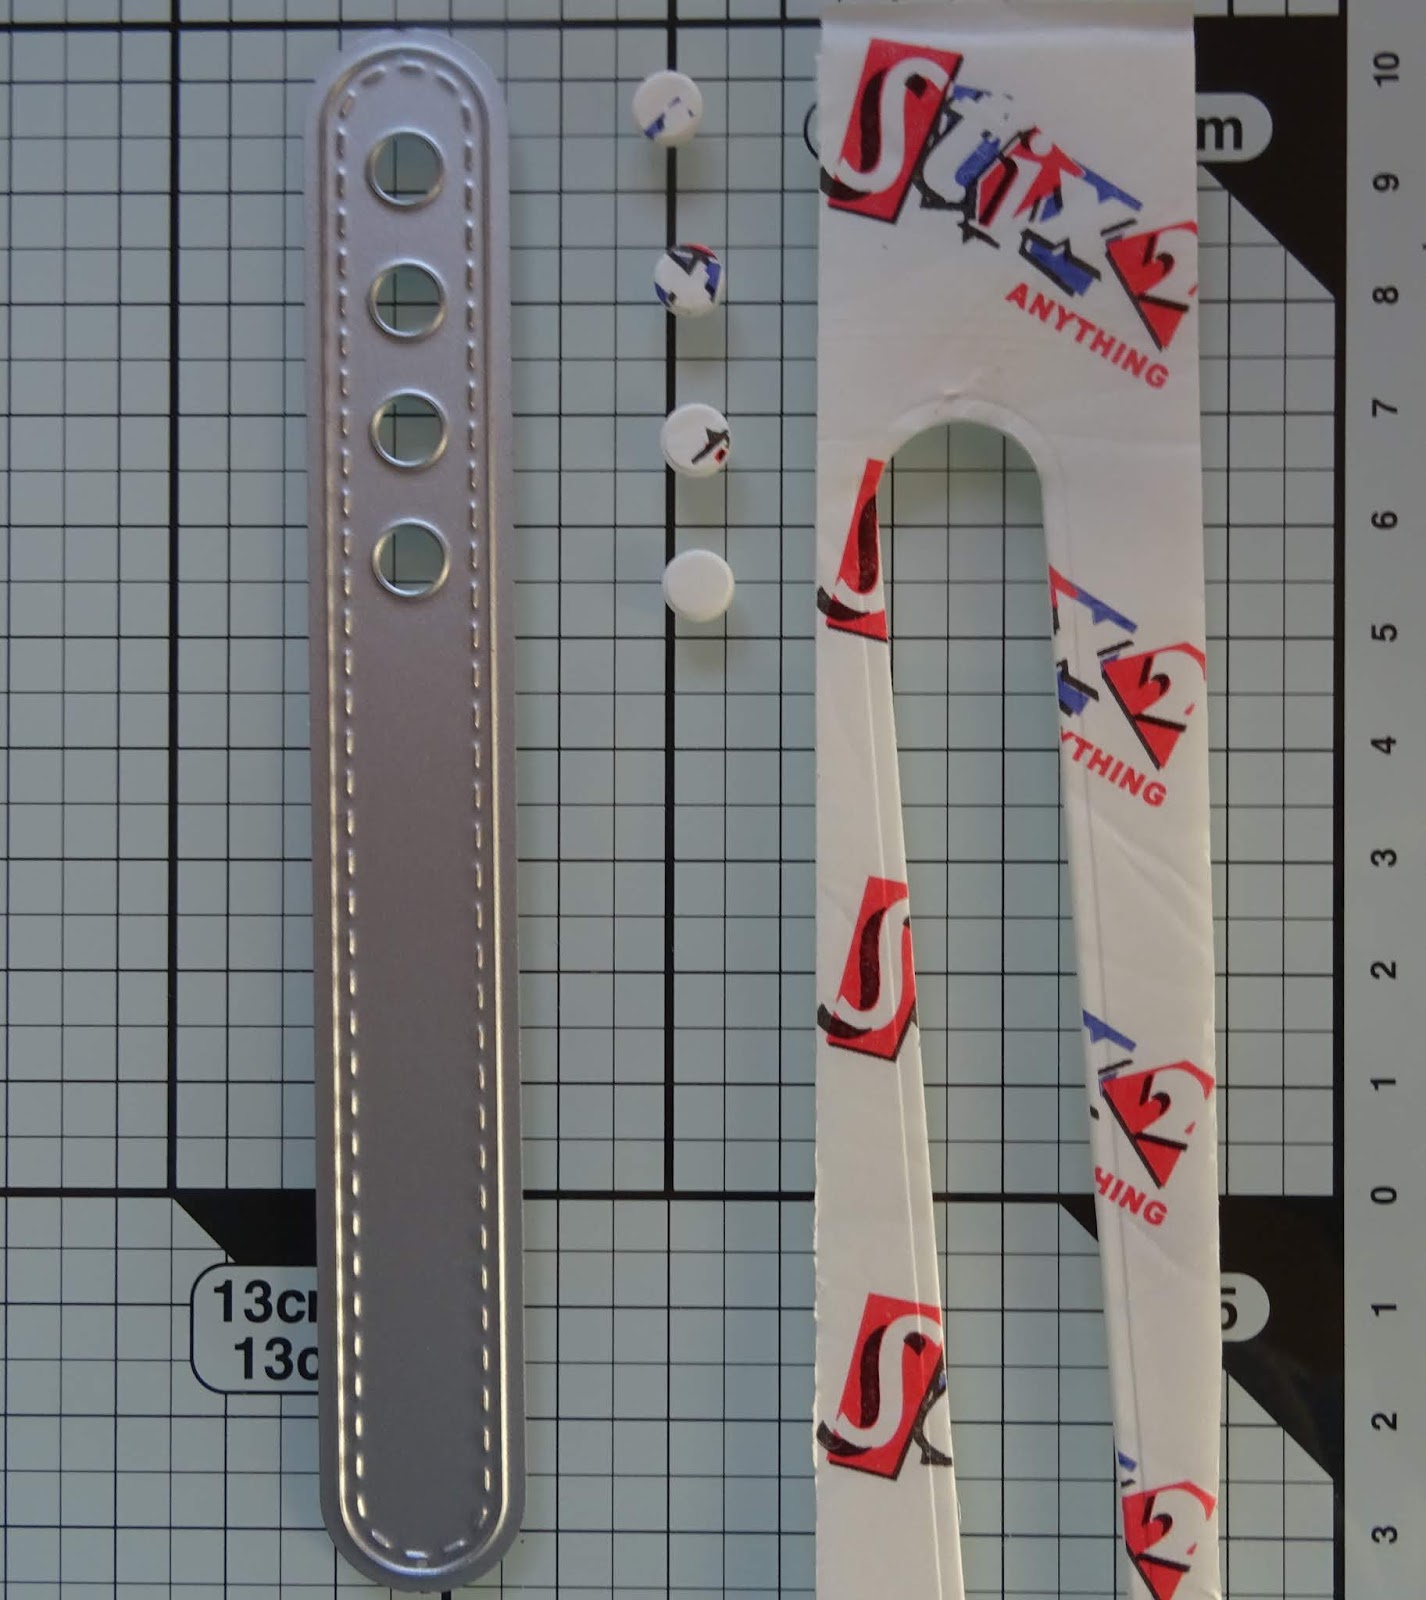
...and die cut some 2mm foam with this piece to use the little circles as spacers. (If you don't have foam you can stick the 4 die cut card circles together but I used foam because I'm lazy!

...then I die cut the plain floorboard piece with the smallest curved die. To assemble the kinetic mechanism you will need the black card elements above, the foam dot and some glue dots...oh and of course...Santa!...

...now, this is the important part - concentration (and chocolate)! required! (;
working from the back, I stuck together a black disc and the foam dot. Putting the dot through the hole on the slider element (which hole depends on the size of the project).

...then I placed the curved cut floorboard section over the foam dot...

...and fixed the second black disc to the foam dot with a glue dot.

I creased the vertical slider element at the point which matched Santa's size,

...and fixed santa to it so that his feet hung over the skirting board.

I added 2mm foam to the back of this piece - adding a strip underneath the black slider keeps it level when you slide it.

Then I fixed the kinetic element I had just assembled to the card background...

Then I took the floorboard section I had coloured in...

...and again using 2mm foam, fixed this piece over the corresponding part of my design.

...and here it is, my finished card! great fun to make and you can't help but smile when you push and pull the slider element and Santa jumps backward and forward across the room!

isn't it wonderful, and just so magical to not actually see any of the mechanism?
my lovely DT Teamies have been working so hard to make some gorgeous kinetic cards for you, with videos and tutorials so it is definitely worth popping to the
Whimsy Inspirations Blog and then to their personal blogs to take a look!
Followed of course by some essential retail therapy at
wonderful
Thank you for popping by,
Happy Creating
love from
love from
Sue...xxx


