Showing posts with label Copic Air System. Show all posts

Tuesday, 29 January 2019

Thyroid Awareness Month Blog Hop...

Hello friends, 

I'm here today with a special blog post, part of a massive month long hop arranged by my lovely crafting friend
Milka Gubo

26 designers (including me) from all over the World have gathered for this special blog hop, which has taken place from January 5th until January 30th.  Each day one designer has shared a handmade project on her blog.  (Please see entire blog hop list below).

The aim of the hop is to support Thyroid Awareness Month, January, and to raise public awareness of the importance of the Thyroid Gland and the problems it can cause when it's not working properly.

The Thyroid Gland looks like a butterfly and that has been adopted as the symbol for Thyroid Awareness Month.

All the cards made for this cause have a butterfly theme.
 I chose the beautiful image
Babette The Butterfly by Stamping Bella 
This blog hop is not sponsored by any artist or company. Instead, there will be couple giveaways on a couple of the blogs along the way. 
I won't reveal the designers who will have giveaways on their blogs, you'll have to find that out yourself so be sure to visit each designer to find out if they are offering a prize, details about prizes and how those prizes can be won.

Thank you for hopping by!
love from Sue...xxx

Saturday, 31 March 2018

More Honey Bunnies

Hello everyone

I hope you are all enjoying a peaceful Easter weekend!

I have a tutorial for you today, to show you how to create a masked Copic airbrush background and also how to colour some rather cute bunnies to go with them.

Here are the craft items I used -
a Copic Air System,
Copic Markers FBG2, BV04, V04,
Make It Colour Blending Card 
Three masks created with die cut shapes from heavy weight card,
a selection of Mama Elephants gorgeous Honey Bunny stamped images.
It is also really important to cover your desk otherwise everything will be airbrushed! 
I have discovered I can use my MISTI as a base for securing images for airbrushing!
I cover the MISTI magnetic base with paper and place the card and the mask (or stencil) on the paper and fix it down with the MISTI Magnets!  The MISTI stays clean because it is covered in paper and I have a spare set of magnets I only use for airbrushing!

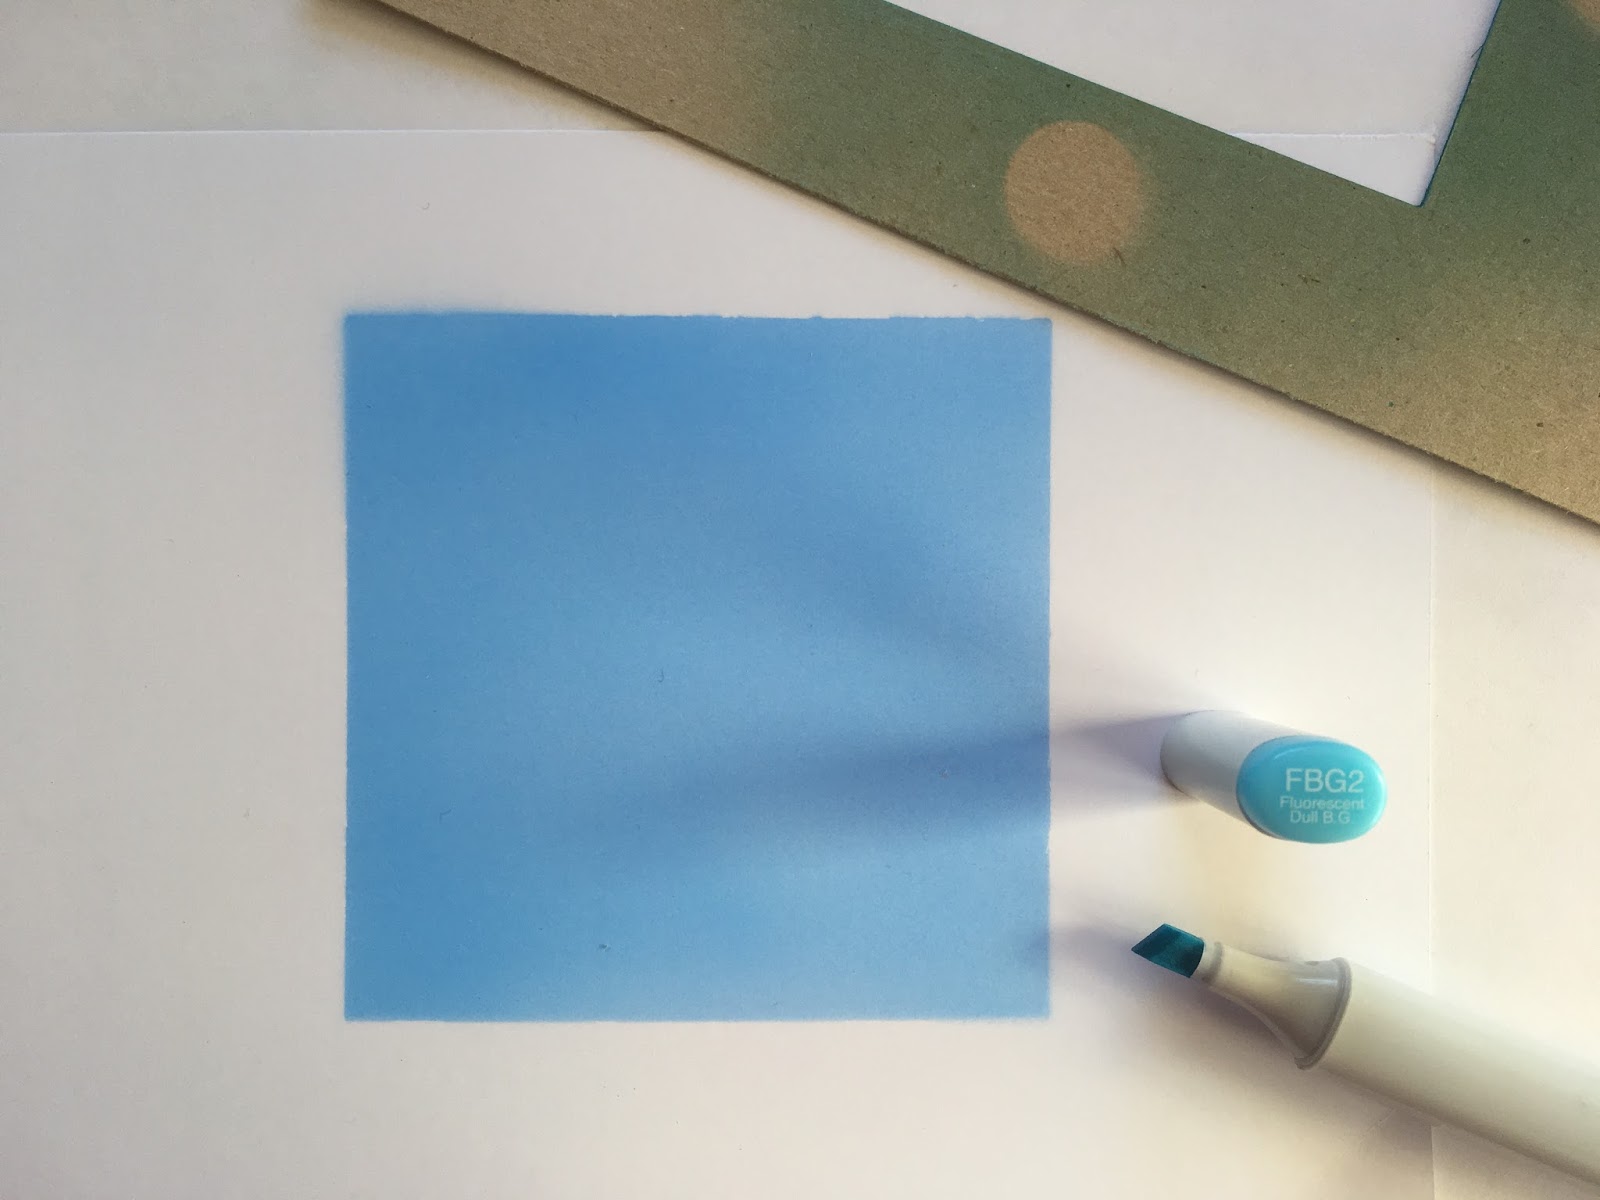
I covered the white card with the square mask and fixed it down.  Then I then started airbrushing in FBG2, slowly and steadily to cover the card.
I repeated this until I had a depth of colour I was happy with.
I repeated this again with the heart and circular shaped masks.  (I then die cut them to use as card backgrounds later).
I decided it would be nice to create a pattern on one of the airbrushed backgrounds with a stamp

When creating a background stamped with Colourless Blender It is important to work quickly as the Colourless Blender will evaporate quite rapidly.
It's a good idea to get everything ready before you put the blender in the pot!
I used a super size dauber by Tsuksienko  to apply the blender to the stamp, it holds quite a lot of blender and I was able to cover the stamp quickly.
Then I stamped the background onto my airbrushed design.  The secret here is to make sure you haven't used too much blender and you don't press down too hard.  A light touch will be all you need to apply the blender to the design.
Your design will now look something like this - I absolutely love it when I see the design the Colourless Blender has created - Colourless Blender really is one of my favourite Copic products!
I love this background stamp so much I think I might use it on everything! (:

Next, I assembled the colours I needed to colour the bunnies.
W00, W1, W2, W4, W6 & C00, C1, C3, C5 
I started to colour the areas where I want the darkest part of my image to be with a W2.  This primes the card and makes it easier to blend the darker colours; it basically creates a base for the pigments in the alcohol solution to move about on.  
I then colour with W6 where I want the darkest part of my image to be.
Then I used W4 to blend out the W6 
...and then W2 to blend out the W4 towards the light.
...and the same with W1

(I then repeat all these steps to create a good definition between the darkest and lightest parts of my image)

Finally I colour with my lightest marker W00 where I want the lightest part of my image to be.
Finally I added a cast shadow under the bunny's chin with W8
Here are the cards I created with the Copic backgrounds and bunnies!
Ingredients (From Dies To Die For)

Other Ingredients
Make It Colour Blending Card by Elaine Hughes Marker Geek
Copic Markers
Black Glitter Card by Crafter's Companion

I had such fun doing this!  It would be great if you could try this too and show us your cards at
Copic Marker Europe on Facebook.
To find us just follow the link
HERE.


Thank you for popping by.
Happy Copic colouring

from Sue...xxx

Thursday, 29 March 2018

Honey Bunnies Part Two

Hello everyone, Happy Thursday!

Easter is nearly here, I hope you have some lovely and peaceful plans!

I am here again with another of those gorgeous honey bunnies!
Ingredients (From Dies To Die For)

Other Ingredients
Make It Colour Blending Card by Elaine Hughes Marker Geek
Copic Markers
Black Glitter Card by Crafter's Companion
Copics Markers 
Background - BV02
Bunny - C5, C3, C1, T5

If you pop to Copic Marker Europe today you'll find a tutorial showing how I made this card - just sayin'!

Thank you for popping by.
Happy Creating

love from Sue...xxx

Don't forget to pop straight to the Dies To Die For inspiration blog to look at the lovely DT creations there, and then straight to Dies To Die For for some essential retail therapy!


Thursday, 22 March 2018

Honey Bunny...

Happy Thursday everyone!
 It's spring! (apparently) /-:
...and in celebration here are some gorgeous bunnies!
Ingredients from Dies To Die For
Other Ingredients
Make It Colour Blending Card from Elaine Hughes - Marker Geek
Copic Markers
Copic Air System

Copics Used
Bunnies - E41, E42, E43
E33, E35, E37
E15, E18, E19
T1, T3, T5
Backgrounds
Y38, RV55, BG13, 
No Airbrush - No Problem! - Simply use the broad nib to colour several layers of ink in your preferred background colour!
Thank you for popping by.
Happy Creating

love from Sue...xxx


Don't forget to pop straight to the Dies To Die For inspiration blog to look at the lovely DT creations there, and then straight to Dies To Die For for some essential retail therapy!

Friday, 9 February 2018

Spring Bling Wryn...

Hello everyone!

Happy Thursday!

I'm here today with a super technique for creating a background with stamps and Copics.

You will need a stamped image, (I have used the beautiful 
Spring Bling Wryn by Tiddly Inks), a background Stamp (I have used Notable Blooms Background by Taylored Expressions), Masking sheet, Copic Airbrush System, Copic Markers and some Colourless Blender.
First I created a  mask of my stamped image Wryn with masking sheet... 
...and placed the mask over the image I intend to colour later.
Then, as I will be using an airbrush I covered my desk with paper (Do not forget to do this or you will end up with a very interesting looking desk)!
I decided (with a little help from our lovely Faye) to use FBG2 in the Airbrush to create the background.
Then, I started to colour the background using the airbrush.
You can get a lovely effect with the Airbrush.  It uses less ink than direct colouring and the trigger is pressure sensitive so you can vary how much ink you use.  Remember that the ink will cover the card in front of where you are pointing the marker and the chisel nib gives a smoother effect.  (the brush nib is lovely to use for some projects as it creates a splatter effect but you don't need that here)!
I airbrushed the card about three times in order to get a depth of colour I liked.
I removed the mask carefully with a pair of tweezers so that I didn't get any marks on the inky background.
I love it when you remove the mask and see the image underneath sat inside a beautifully coloured background.
Next, I stamped the background with the Notable Blooms stamp.
It is important to work quickly here as the Colourless Blender will evaporate quite rapidly.
It's a good idea to get everything ready before you put the blender in the pot!
I used a spare top to a Tim Holtz 'dabber' bottle to apply the blender to the stamp, it holds quite a bit of blender and I was able to cover the whole stamp quickly.
Then I stamped the background onto my airbrushed design.  The secret here is to make sure you haven't used too much blender and you don't press down too hard.  A light touch will be all you need to apply the blender to the design.
Your design will now look something like this and you can carry on colouring sweet Wryn with Copic Markers.  Don't worry if some background ink has seeped under the mask - you can ease it out with a colourless blender pen.
Copic Markers Used
Skin - E04, E11, E21, E00, E000
Hair, E29, E25, E23, E21
Clothes E33, E31, Y17, Y15, Y11, BG99, BG72, BG0000
Background FBG2

Thank you for popping by.
Happy Copic colouring

from Sue...xxx


Monday, 10 July 2017

Mermaid madness...

Good Morning everyone...
I'm here today with a tutorial for 
Copic Marker Europe
to show you a few ideas for creating a mermaid card.

Sandie Dunn did a beautiful tutorial at Copic Marker Europe on Wednesday which showed how to colour an underwater scene with Copic Markers.

Today I am going to show you how to use a Copic Airbrush System to create the sea, and how to use Copic refills, mirror card and die cuts to create bubbles.

I enjoyed this so much and I hope you do to!
Here are the ingredients I used to make my card.  The Copics for the sea are Copic Markers BG13, B24, RV17, B29 and the Copic Refills for the bubbles are BV08, YG95, Y17 and Colourless Blender.
First, I dropped a few spots of Copic Refills BV08, YG95, Y17 and Colourless Blender close together on a glass mat. 
Then I pressed a piece of silver Mirrored card onto the ink - you need to work swiftly here as the refills dry quite quickly, also, don't move the card around, just press it onto the inks and lift it off.
The effect of the refills on the mirror card will look something like this.  (I love this so much I am already thinking that this effect will look great for snow and snowflakes)!
Using Memory Box Small Ringlets and Circle Dies I die cut cut the mirrored card.
I love how you can see the purple and gold marbling on the die cuts. 
 Next, to make the sea, I used the airbrush to colour a piece of card.
I used the chisel nib of the Copic Markers and sprayed the colours in the order BG24, B13 and RV19.  Comic Airbrushing is very straightforward if you remember to spray slowly and steadily.  (....and remember to cover your work surface with paper - this is especially important because the ink goes a long way)!
Finally, I sprayed the card with B29 using the brush nib of the Copic Marker.  When you use the brush nib in an airbrush the effect is like a fine ink splatter. 
Next, to create a watery effect in the sea I first tipped some Colourless Blender into a pot. 
Then, I completely dipped my fingers into the colourless blender,
...and flicked the blender onto the card, I did this a few times until the blue sea was covered in lots of different sized droplets.
I thought these two techniques were really good fun! 
It would be great if you could try this and show your cards to us at 
Copic Marker Europe on Facebook.
To find us just follow the link
I finished my card by colouring a mermaid from the gorgeous MFT set - Mermazing, and adding a sentiment from the MFT set - You're A-maze-ing.  I added a Die namics Stitched Rounded Rectangle Frame.  All these products are available from
Copic Markers Used
Skin - E04, E01, YR000, YR0000
Hair, YR24, YR23, E99
Mermaid Tail - BV08, V17, V15, 
Gold Star - Y19, Y15, Y11
Clown Fish - YR09, YR04, YR02
Thank you for popping by.
happy Copic Colouring...
from Sue ...xxx