Hello everyone!
Happy Thursday!
I'm here today with a super technique for creating a background with stamps and Copics.

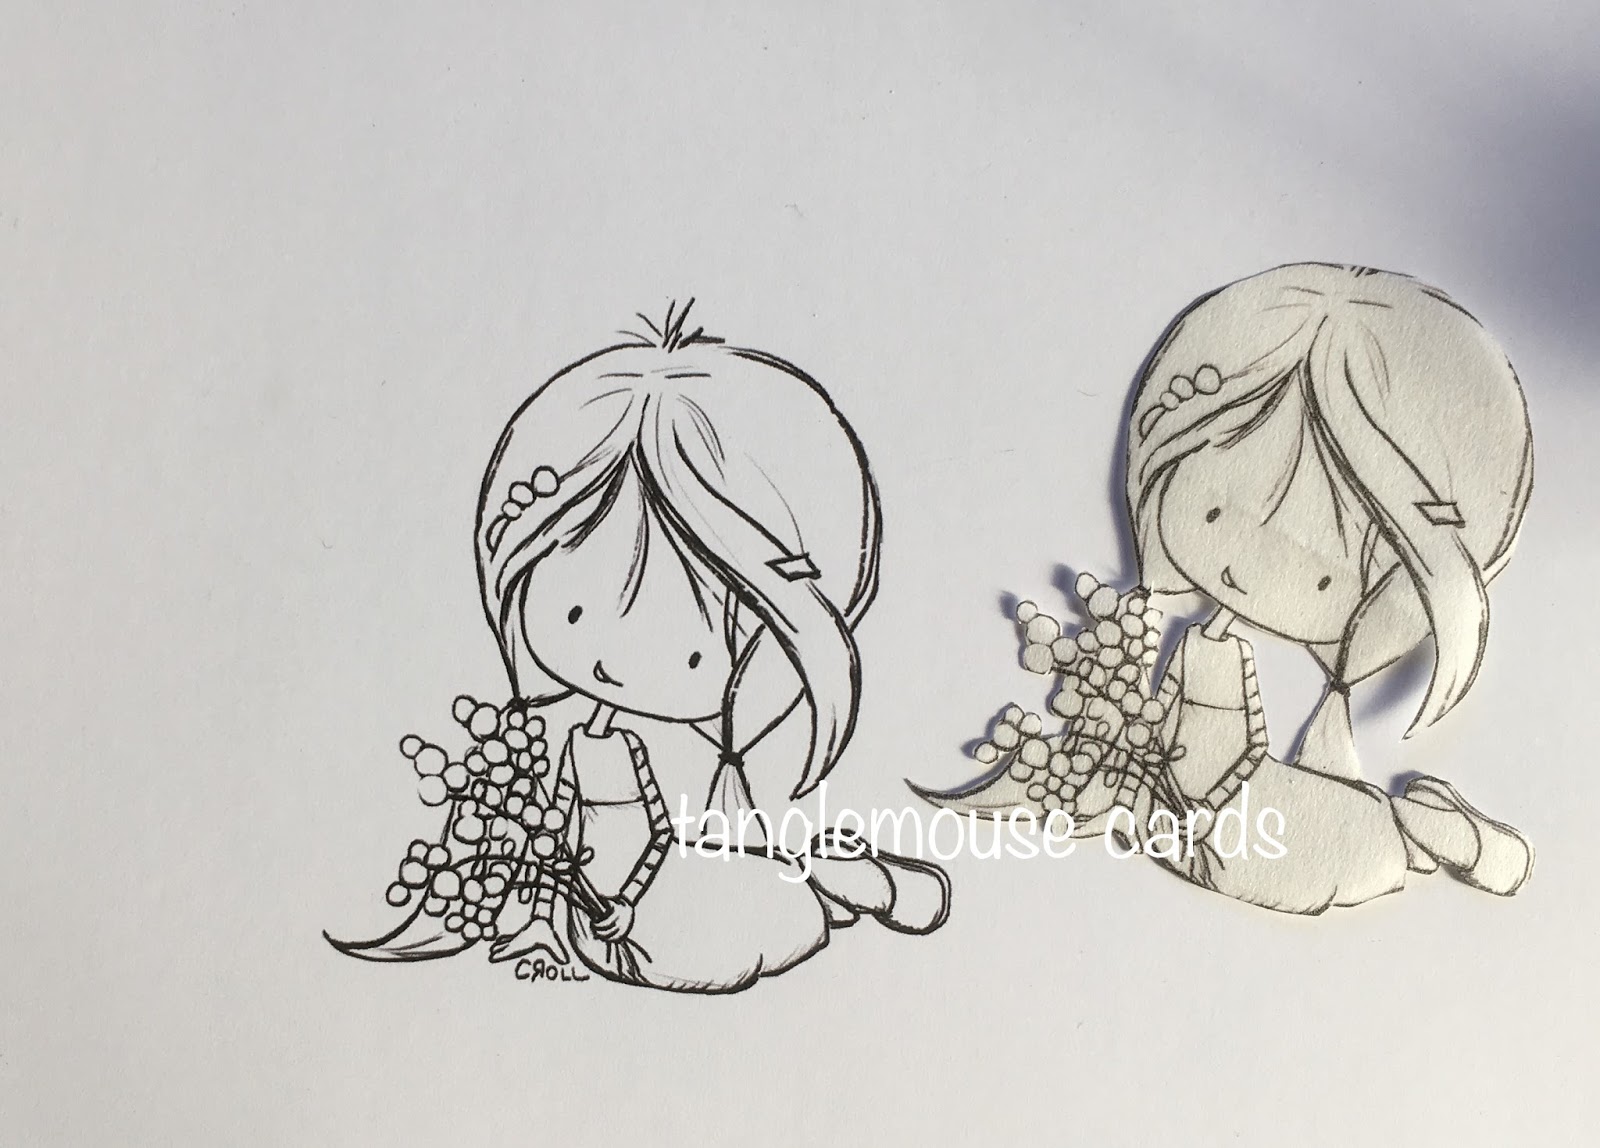
You will need a stamped image, (I have used the beautiful
Spring Bling Wryn by Tiddly Inks), a background Stamp (I have used Notable Blooms Background by Taylored Expressions), Masking sheet, Copic Airbrush System, Copic Markers and some Colourless Blender.
First I created a mask of my stamped image Wryn with masking sheet...
 ...and placed the mask over the image I intend to colour later.
 Then, as I will be using an airbrush I covered my desk with paper (Do not forget to do this or you will end up with a very interesting looking desk)!
I decided (with a little help from our lovely Faye) to use FBG2 in the Airbrush to create the background.
 Then, I started to colour the background using the airbrush.
 You can get a lovely effect with the Airbrush. It uses less ink than direct colouring and the trigger is pressure sensitive so you can vary how much ink you use. Remember that the ink will cover the card in front of where you are pointing the marker and the chisel nib gives a smoother effect. (the brush nib is lovely to use for some projects as it creates a splatter effect but you don't need that here)!
I airbrushed the card about three times in order to get a depth of colour I liked.
 I removed the mask carefully with a pair of tweezers so that I didn't get any marks on the inky background.
 I love it when you remove the mask and see the image underneath sat inside a beautifully coloured background.
 Next, I stamped the background with the Notable Blooms stamp.
 It is important to work quickly here as the Colourless Blender will evaporate quite rapidly.
It's a good idea to get everything ready before you put the blender in the pot!
 I used a spare top to a Tim Holtz 'dabber' bottle to apply the blender to the stamp, it holds quite a bit of blender and I was able to cover the whole stamp quickly.
 Then I stamped the background onto my airbrushed design. The secret here is to make sure you haven't used too much blender and you don't press down too hard. A light touch will be all you need to apply the blender to the design.
 Your design will now look something like this and you can carry on colouring sweet Wryn with Copic Markers. Don't worry if some background ink has seeped under the mask - you can ease it out with a colourless blender pen.
 Copic Markers Used
Skin - E04, E11, E21, E00, E000
Hair, E29, E25, E23, E21
Clothes E33, E31, Y17, Y15, Y11, BG99, BG72, BG0000
Background FBG2
from Sue...xxx

I decided (with a little help from our lovely Faye) to use FBG2 in the Airbrush to create the background.


I airbrushed the card about three times in order to get a depth of colour I liked.


It's a good idea to get everything ready before you put the blender in the pot!


Skin - E04, E11, E21, E00, E000
Hair, E29, E25, E23, E21
Clothes E33, E31, Y17, Y15, Y11, BG99, BG72, BG0000
Background FBG2
Thank you for popping by.
Happy Copic colouring
from Sue...xxx
7 comments:
Stunning Sue and what a great idea for the background. Loveeee x
Thanks for sharing this great technique it makes a stunning background for your lovely card Love and hugs Carole x
This looks great Sue xx
Ok thank you so much for sharing your creation which rocks by the way. I would also like to say thanks for sharing your process..now I am going to dig out my compressor!! AWESOME JOB
This is SOOOOO clever. Amazing and beautiful.
Beautiful Sue and a wonderful backdrop too. Have a lovely weekend. Tracy x
very nice card!
Post a Comment