Sunday 24 December 2017

Joy to the world

Hello Everyone!

I'm here today to show you how to create a really quick, simple and very pretty background with your copic markers.

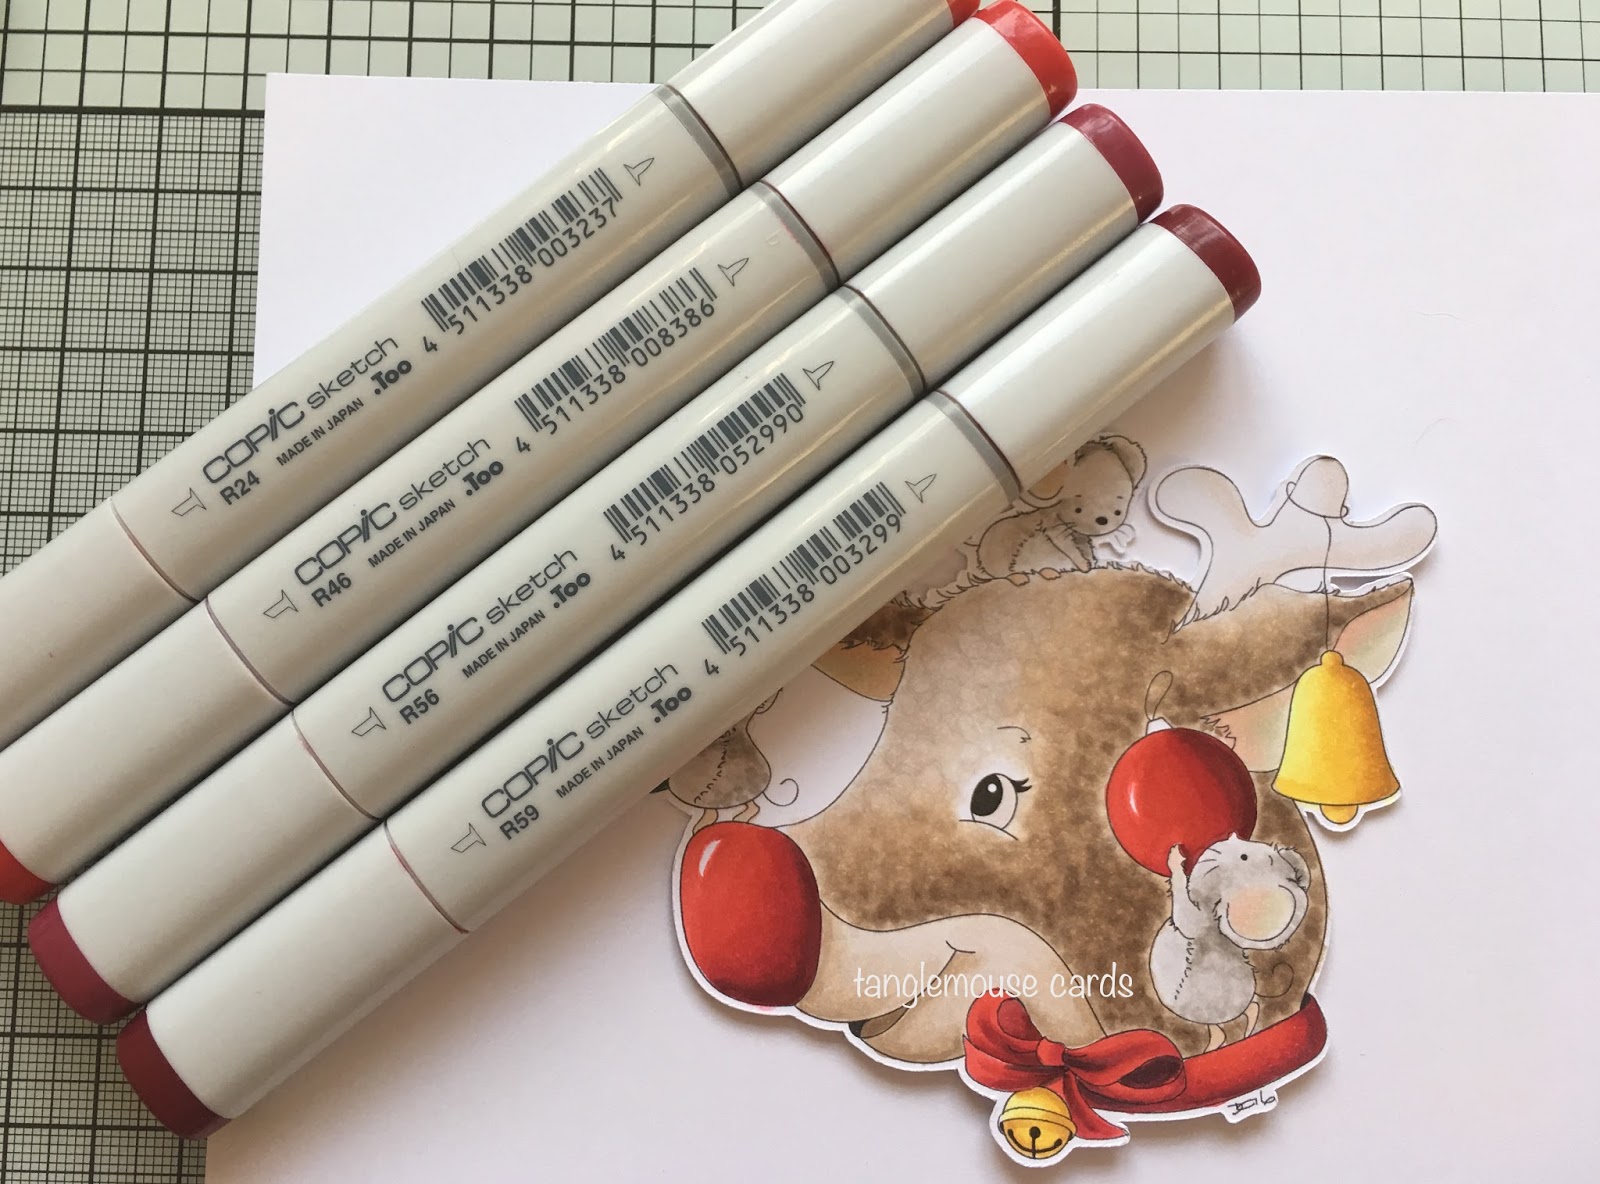
You will need a stamped image, (I have used the beautiful 
Christmas Horns by Jennifer Dove for DoveArt), copic markers and some colourless blender in a spritzer bottle.
First I coloured the background around the image with
RV93 - it doesn't need to be too neat.
Then, the rest of the background was coloured with RV91.
Then I sprayed the entire design with colourless blender.
The colourless blender creates a lovely dotty pattern on the coloured background.  It doesn't matter that it goes on the image too as it will dry leaving you able to colour the image as usual.  Don't worry about the blender making larger blots as it looks really pretty when it is dry.  (I took the picture below while the blender was still wet so you can see the effect)

I carried on colouring the image with markers as shown - 
silver horns C0, C1, C3, C4
...bow with R35, R37, R56, R59.
...holly leaves with YG03, YG63, G85 and BG99
...frame with R35, R37, R56
Finally I added some Clear and Silver Copic Glitter pen to the horns.  This does n't show very well in the photo but it does look really sparkly!
I had such fun doing this!  It would be great if you could try this to and show us your cards at
Copic Marker Europe on Facebook.
To find us just follow the link
This beautiful image is 
It is available in the UK from 

Thank you for popping by.
Happy Copic colouring
from Sue...xxx

...and thank you so much to you all for your support for my projects this year.  I really appreciate it.
I hope you all enjoy a very special Christmas break.

Sunday 12 November 2017

Let yourself sparkle...

Good Morning everyone.

Happy Wednesday!

I have written a tutorial which I hope will help you colour your Christmas images as I have used Copic Colourless Blender to create a festive glow!
I have chosen an image which I think is perfect for practicing this technique as it has a lot of light bulbs!
Sassy String Lights by Kirsten Winkelbauer for Whimsy Stamps
First I coloured the background around the image with
B34 - it doesn't need to be too neat
Then I coloured more of the background with B37 - I am working with my Copics light to dark here.
Next I added B39
I then coloured the background again with the same colours to smooth out the blending transitions
I was finally happy when the image looked like this and I was then able to start creating the glow around the lights using Colourless Blender and a Cotton Bud
I dipped the end of the bud in colourless blender and pressed the end down on top of each bulb, the effect will look like this
It is important to keep the bud still and just place it down once on each light to begin with.
I then carried on placing Colourless Blender on every bulb.  I let the blender dry and then went round again repeating the same process, I did this three times as it helped to really bleach the centre of each bulb.
You can see that some of the blue colour has run into the image.  Don't panic! This can easily be pushed out with a Colourless Blender Marker.
I then coloured the rest of this gorgeous image.
Skin - E71, E51, E50, YR32
Hair - E42, E43, E44, E59
T Shirt -RV69, R39, R35, R35, R32
Once I had finished this, I went round again with the colourless blender and the Cotton Bud so that the same glow could be created in her hair and on her shirt.
I added some colour to the light bulbs and finished the image with
YR16, Y02, YG97, YG03
Finally, I added some detail to the background with a white gel pen
I had such fun doing this!  It would be great if you could try this to and show us your cards at
Copic Marker Europe on Facebook.
To find us just follow the link
Ingredients
Make it Colour Blending Card by Elaine Hughes (Marker Geek)
Memento Ink Pad in Tuxedo Black
Copic Markers
Glitter Card by Crafter's Companion
Archival Ink in Cobalt (sentiment)
Thank you for popping by.
Happy Copic colouring
from Sue...xxx

Sunday 5 November 2017

Merry Beary Christmas...xxx

Hello everyone,
Wishing you a lovely Sunday.

I'm here with some gorgeousness from
The Ribbon Girl

We have a new card challenge starting today at 
The Ribbon Girl
with some utterly fabulous prizes, 
follow the link
HERE
for all the details.

It's never too soon for a sweet Christmas bear!  
Especially one created so beautifully by Di Carubia!
Ingredients from The Ribbon Girl
Maja Design 6 x 6 paper I Wish 
Button Twine Natural
 13mm Rusty Bells
 Candy Cane Silver Charm
 10mm Burgundy roses
 25mm Gold Sparkle Ribbon
 15mm Ivory Asters
Other Ingredients
Candy Cane Bear Digi by Di's Digi Stamps
Make it Colour Blending Card by Elaine Hughes (Marker Geek)
Copic Markers
Tonic Circular Layering Dies
Mama Elephant Mini Messages and Mini Tags (Dies To Die For)
Cosmic Shimmer Glue
Copic Used - 
Fur E41, E42, E43, E44
Nose W2, W4, W7
Paws and Ears R04, R02, R01
Berries and Candy Cane Red R59, R39, R37, R35, R32
Holly Leaves YG97, YG95, YG03
Ribbon YR16, Y35, Y15
Ground W2, W4, W7

Thank you for visiting,
happy creating!
from Sue...xxx


...and remember to pop straight to
The Ribbon Girl
to look at the wonderful DT inspiration join in the challenge fun!
...and then straight to 
The Ribbon Girl Store
for some essential retail therapy!


Thursday 2 November 2017

Be your own kind of cupcake...

Good Morning everyone, Happy Thursday!

I am so excited, I have been waiting weeeeeeeeks to share this post with you!

Today lovely Barbara at
Little Miss Muffet Stamps starts four days of LMMS new release fun!
I have had such a great time making my card with gorgeous 
and using some elements from the new release Add-on Faces
I coloured lovely Yang with Copics and sat her on a shaker window with the fab Little Miss Muffet Sentiment - Be Your Own Kind Of Cupcake
Ingredients
Copic Markers
Make it Colour Blending Card by Elaine Hughes (Marker Geek)
Carte Bella 6 x 6 Paper Pad - Rough and Tumble
Lawn Fawn Stitched Rectangle Frames from Dies To Die For
MFT Die namics Blueprints 18 from Dies To Die For
MFT Die namics Rectangular Shaker Window and Shaker Pouches from Dies To Die For
Taylored Expressions Sequins from Dies To Die For
Inks Used
Copics -
Skin E71, E11, E00, E50
Hair E34, E57, E29
Eyes BG05, YG03
Clothes 110, T9, T5, T7, T5, R29, R24, R14, R22, C1

Thank you for popping by!
Happy creating and remember to pop to the lovely 
to join in with the new release fun!

from Sue...xxx


Sunday 15 October 2017

too cute to spook!...

Happy Sunday everyone...

I'm here today with something spoooooooky from Dies To Die For!
Although we don't really 'do' Halloween at home I do love making Halloween cards, especially with witches as cute as this one!
Ingredients (potions)! (-: from Dies To Die For
Pumpkin Die is similar to - Spellbinders - Pumpkin Accents
Other Ingredients
Make it Colour Blending Card by Elaine Hughes (Marker Geek)
Memento Ink Pad in Tuxedo Black
Copic Markers
Black Twine (or natural twine coloured with a black Copic marker)! o-:
K & Co Halloween sentiments
Craft Box Basics
Copics -
Skin - E50, E00, E11, E71
Hair - E33, E35, E29, Eues - YG03
Hat - BV29, BV25, BV23
Blouse - BV17, BV04, BV13, 
Pumpkins - E19, YR18, YR15, Y18
Thank you for popping by.
Happy Creating
love from Sue...xxx

Don't forget to pop straight to the Dies To Die For inspiration blog to look at the lovely DT creations there, and then straight to Dies To Die For for some essential retail therapy!

Monday 9 October 2017

Furry reindeer...

Hello everyone,
Well - it's started and I've been colouring one of my favourite images - a reindeer! 
For a long time I avoided colouring furry animals because I wasn't confident about colouring their fur!  If you are feeling bit unsure about it as well then hopefully this tutorial will help.

Now, today I am going to be using a really strong Copic red combination so it is really important that my markers are clean.  (To be honest It's always important to have clean markers but with a deep colour like this even more so)!
I have chosen an image which I think shows off the technique to colour textured fur perfectly.  It is also quite beautiful - 
To colour textured fur I am basically going to make a lot of dots on the image with the brush nib of your marker.  It is important that the dots are randomly placed and of different sizes.
First I covered the whole of the image which would be textured fur with dots using E41...
...then I added dots of E42 where I wanted the darkest parts of my image to be...
and I went back over the whole area again with E41.
I then coloured the darkest areas again with E42
Next I used E43 to colour the darkest area...
...followed by E44.  (Don't panic - I know it is starting to look dark but adding the lighter colours shortly will even it all out)!
Next, I coloured with the same markers, in the same areas in reverse order...
E43
E42
E41 (all over)
To smooth out the area which goes from dark to light, I used a combination of E41 and colourless blender (but only use the colourless blender sparingly or you will end up with bald patches)!
Using the same markers, I carried on adding dots until the area was completely covered, the transition from dark to light looked 'smooth' and I had achieved a result I was happy with.
Using W00, W1, W3 and W4 I used the same technique to colour the fur on the mice.
Their ears are smoothly coloured with R11 and E81.
I finished colouring this lovely image with Copic markers as follows...
Bells - Y35, Y15, Y11
Bow, bauble and beautiful nose - R59, R56, R46, R24
Bauble - YG67, YG17, YG03
I really enjoyed colouring this cute reindeer - I do hope you found this tutorial useful.
Ingredients
Make it Colour Blending Card by Elaine Hughes (Marker Geek)
Copic Markers
Archival Ink pad in Cobalt Blue
 Blue Pearl and Glitter Card - Crafter's Companion

Thank you for popping by.
Happy Copic colouring
from Sue...xxx